Home
Biography
Tables, Chairs
Cabinet Furniture
Beds, Built-ins, Other Work
Exhibitions, Galleries, News
Articles
Teaching and Student Work
Contact
Richard Jones Furniture
Using Drafting Tape to Join Veneer Edges: how useful is this technique?
Early in 2008 it came to my attention that some furniture makers use drafting tape or drafting dots to join the prepared edges of veneers prior to gluing them down to the ground. I became aware of this due to woodworking forums I visit. This reminded me that in the early 1980s I experimented with masking tape to do the same job. I was sceptical of the suitability of drafting dots for this purpose guessing they might perform much like masking tape. Masking tape has the nasty habit of adhering too well to the wood and on removal tearing out the grain. It is also quite thick and, on soft veneers, I’ve experienced it leaving a depression in the veneer that’s difficult to remove without cutting through to the ground below.I decided to experiment with the drafting tape technique on a sample board. I used a piece of 12 mm MDF as the ground and used some offcuts of crown cut black cherry (Prunus Seritona) and radially sliced European beech (Fagus sylvatica) veneers for each face.
What follows is a photo essay of the experiment with comments where appropriate and a conclusion at the end.
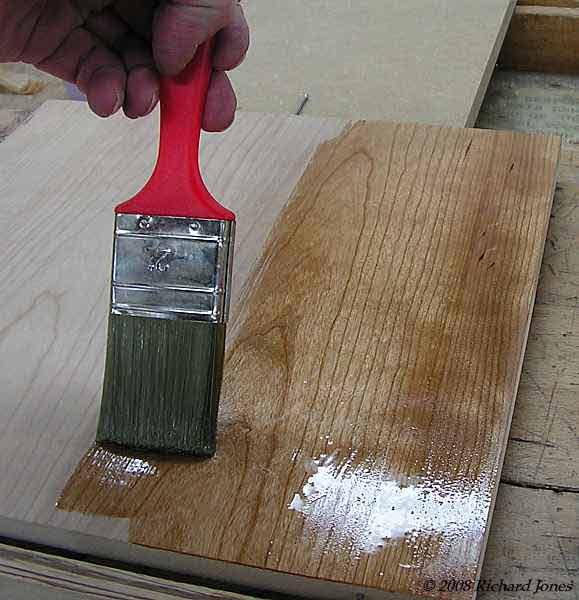
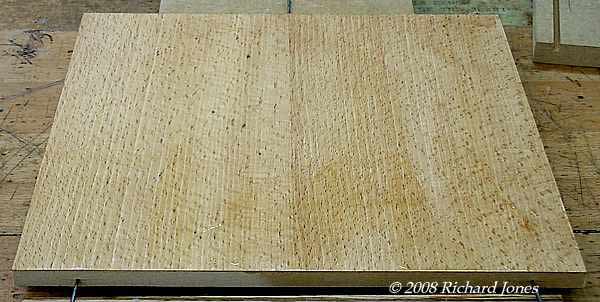
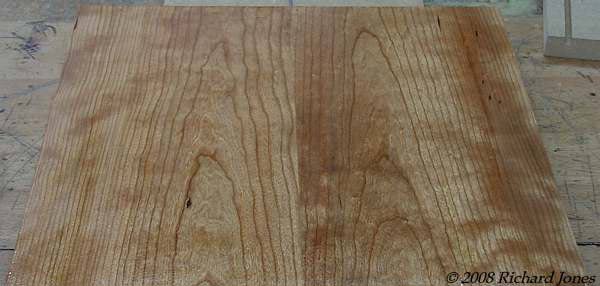
The following four images show the veneers cut with a guillotine and the prepared edges taped together, the cherry with drafting dots, and the beech using masking tape. I used PVA glue and applied it the ground on both faces to bond the veneers in one pressing.
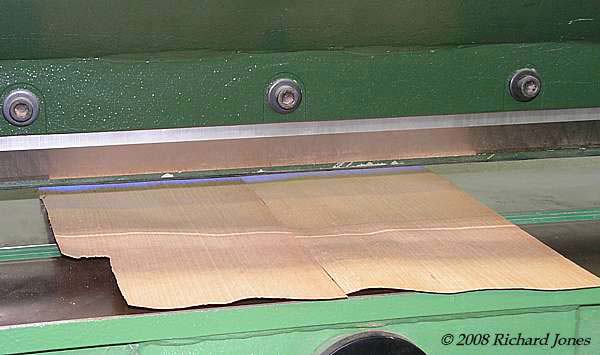

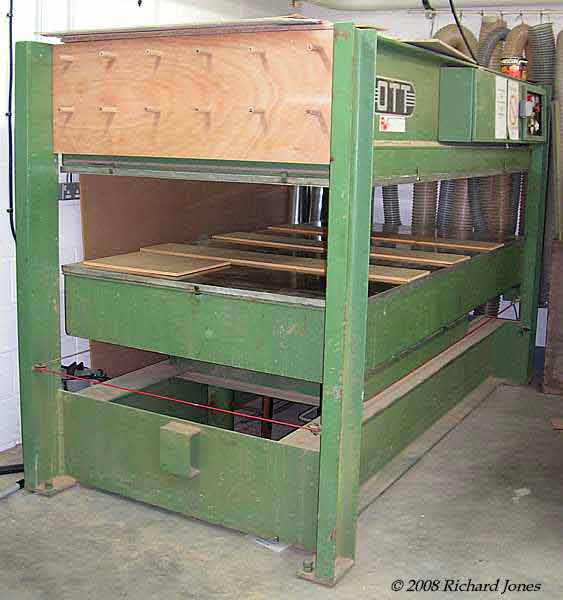
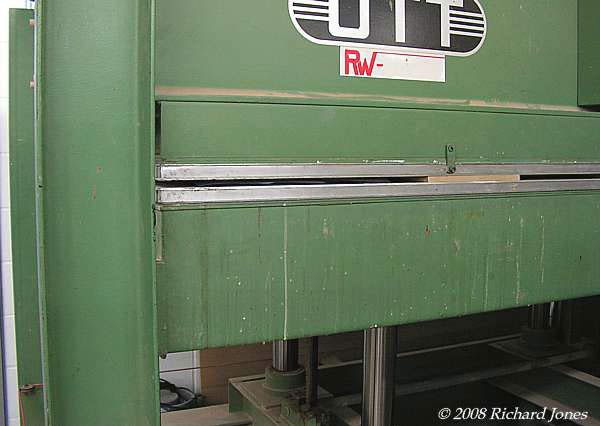
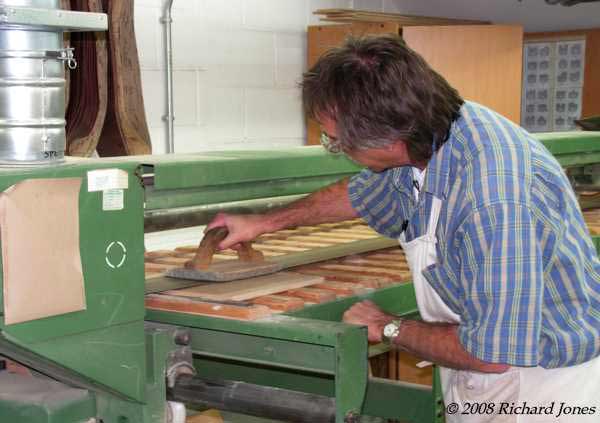
The panel was pressed in a veneer press, below. I used a heated hydraulic press for speed, although I could have used the vacuum bag press. Hide glue and a veneer hammer don’t work well at all with masking tape as the join ‘cramp’ and I doubt that drafting tape would perform any better. Both these methods are slower and I needed to work quickly due to other pressing tasks.
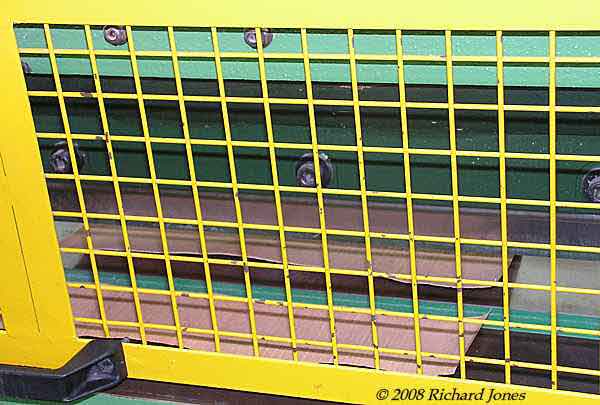
The veneered panel gets high pressure heat treatment. The panel stays in the press for about 60 seconds: that’s all the time required for applying veneer with platens heated to 60ºC.
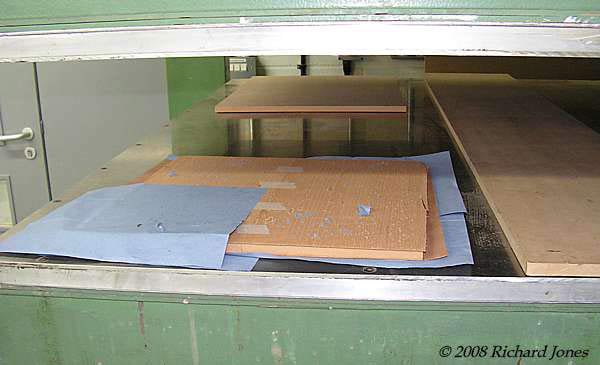
The bottom platen lowers which lets you remove the veneered panel. Normally I slip a sheet of plastic, such as a cut up black bin bag, between the platens and the panel to prevent sticking. I didn’t have one to hand so I placed some paper towel either side; this is something I wouldn’t normally do as the paper usually imprints into the veneer’s grain.
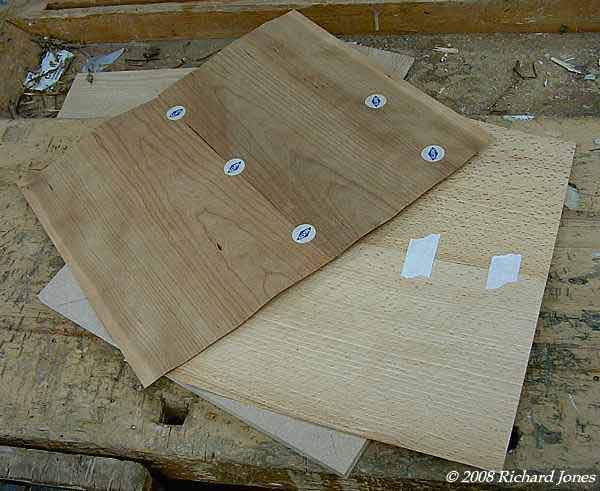
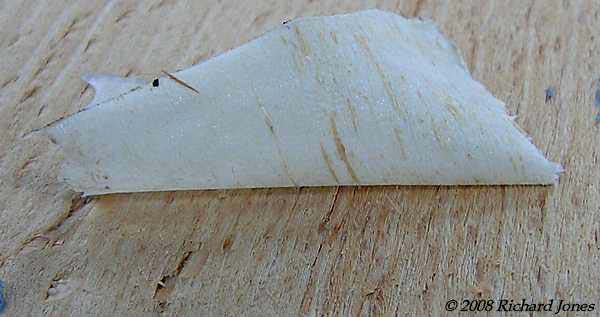
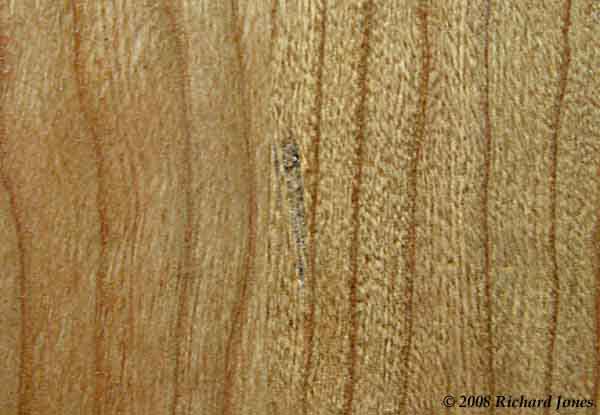
The veneer, the ground and the tape is hot when removed from the press, so you’d think tearing off the masking tape or the drafting dot tape wouldn’t cause grain tearout. It does in both cases even though I was very careful how I peeled back the tape. I was a little surprised to see the drafting dot removal caused more damage than the masking tape. However, the beech veneer joined with masking tape is very hard, and the cherry joined with the drafting dots is a lot softer, so perhaps the tearing out of the grain in the cherry isn’t too surprising.
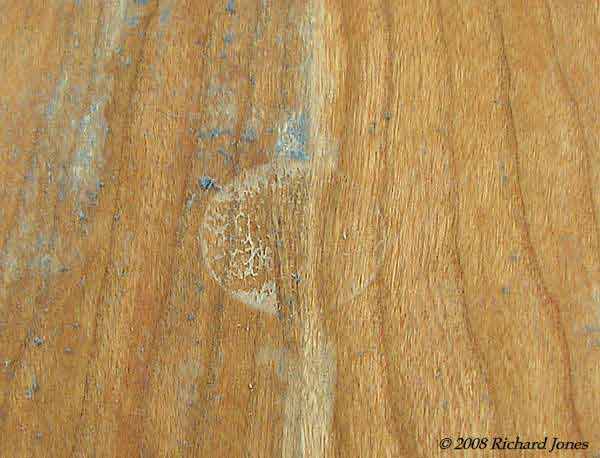
Glue bleed through on the beech veneer.
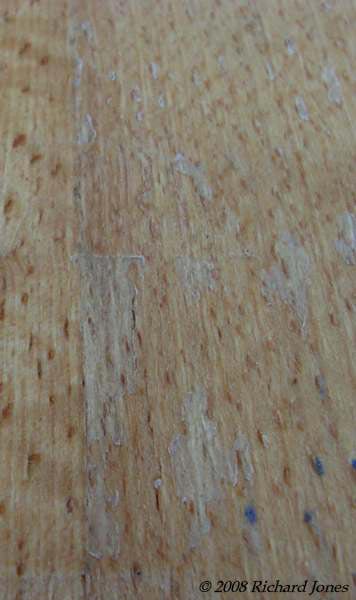
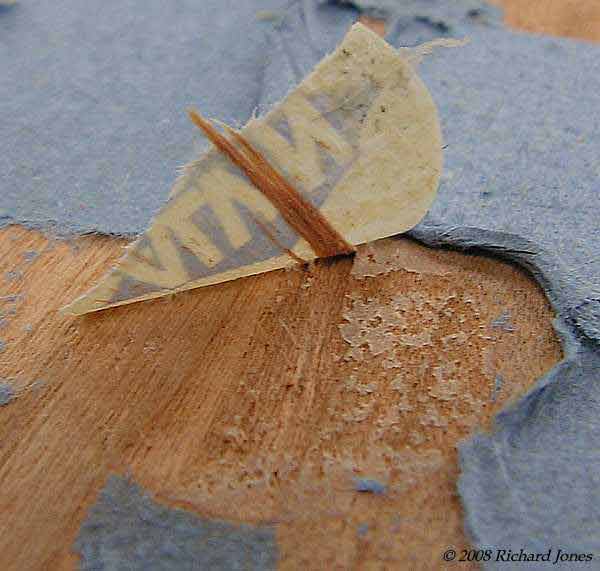
In these last four images you can see the general colour and the torn out cherry grain shows rather badly.

I shan’t be switching over to using drafting dots to join veneers on a regular basis, especially with wood veneers that tend towards ‘stringiness’ such as European sycamore (Acer pseudoplatanus) or hard maple (Acer sacharum) and particularly where the veneers are glued down using a heated hydraulic press. The heat from the press seems to cause the veneer dot and masking tape adhesive to bond better than ever, which I find undesirable. I might use it for some of the harder, tighter grained woods such as ebony or possibly some of the rosewoods. For the most part I will continue to use traditional paper veneer tape with water activated adhesive. It is possible that using masking tape or drafting tape for this purpose in conjunction with unheated presses, eg, book binder’s presses or vacuum bags would not cause the same problems I encountered. I did not conduct this experiment even though I have a vacuum bag to hand so I cannot offer any guidance.
However, there is a role I already use masking tape for in the veneering process. After preparing veneer edges ready for joining I turn the show faces down onto a flat surface. Next I use masking tape to hold the prepared edges of the veneer together; I use as few pieces of masking tape as possible for this. With this task complete I turn the joined veneers over again so the show side is on top and join the edges with traditional paper veneer tape. After the veneer tape has dried and properly stuck I check the join is good, ie, no gaps or overlaps, turn over the leaves again and remove the masking tape. Immediately after this I glue the veneer down on to the ground.
Home Biography Tables, Chairs Cabinet Furniture Beds, Built-ins, Other Work Exhibitions, Galleries, News Articles Teaching and Student Work
Contact
Contact
© 2017 Richard Jones